That Might Be a Little Over the Top…
Written by Gayle
In April I wrote the post called Earth Day Every Day. I mentioned several things that we can do to take better care of our beautiful earth. And now that summer is upon us, I thought I’d do a Jeans Blanket tutorial for those of you who would like to reuse your old denim jeans. If you have a sewing machine and the ability to sew a straight seam, you can make this blanket! And it really is the best beach blanket in the world! The sand just shakes off. Everyone on the beach will be totally jealous!
First, you have to cut your squares
The easiest thing is to use a self-healing mat and a rotary cutter, but if you don’t have that, just cut squares with scissors. Before I had a mat and cutter, I made square cardboard tempates and then used a marker to draw the square on the denim, and then cut them with scissors.
It’s really important the the square are equal and even. I used 8″ squares for this blanket, but you can use whatever you’ve got.
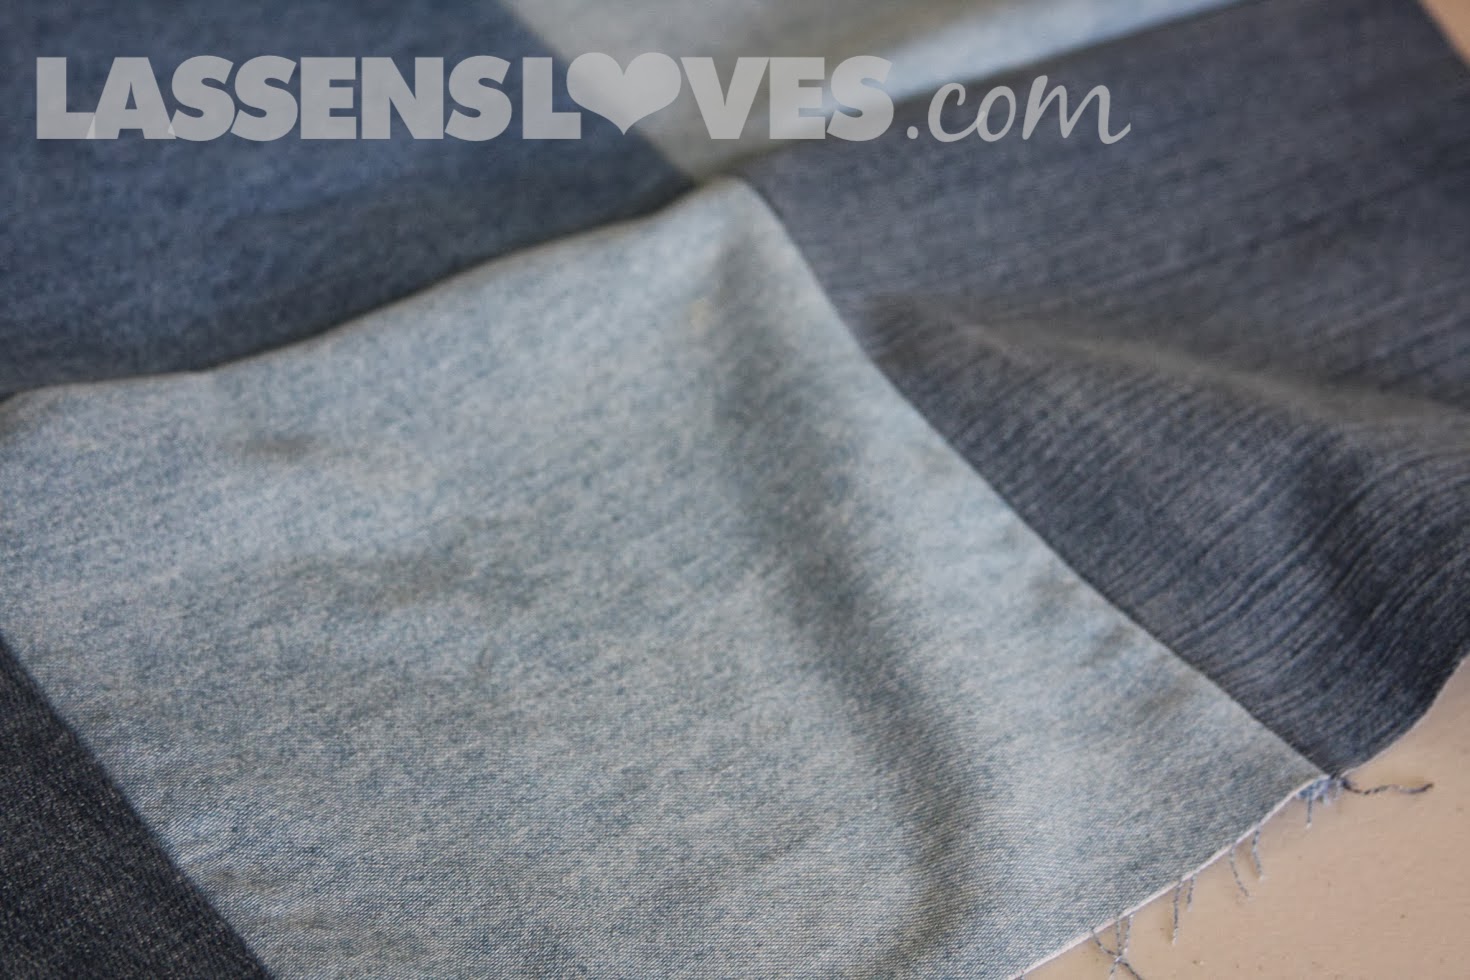
I just collect jeans for quite a while until I have enough to make a blanket. You can see that I made sure I cut the squares in line with the lines of the fabric. Make sure you do this, otherwise the squares will stretch where they shouldn’t.
Decide Your Size, and Arrange the Squares
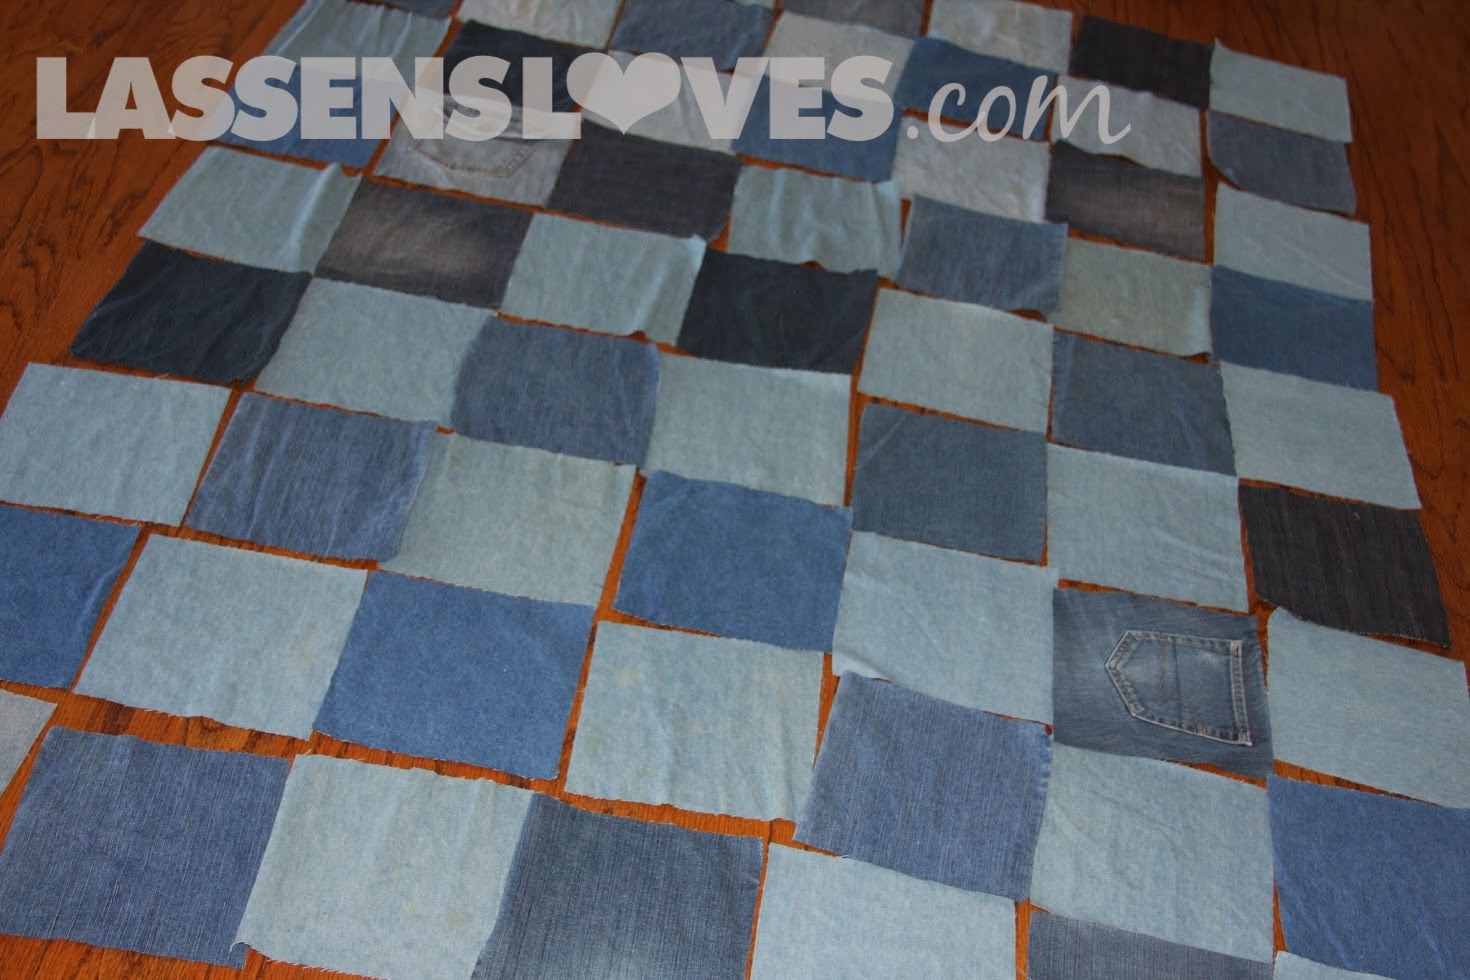
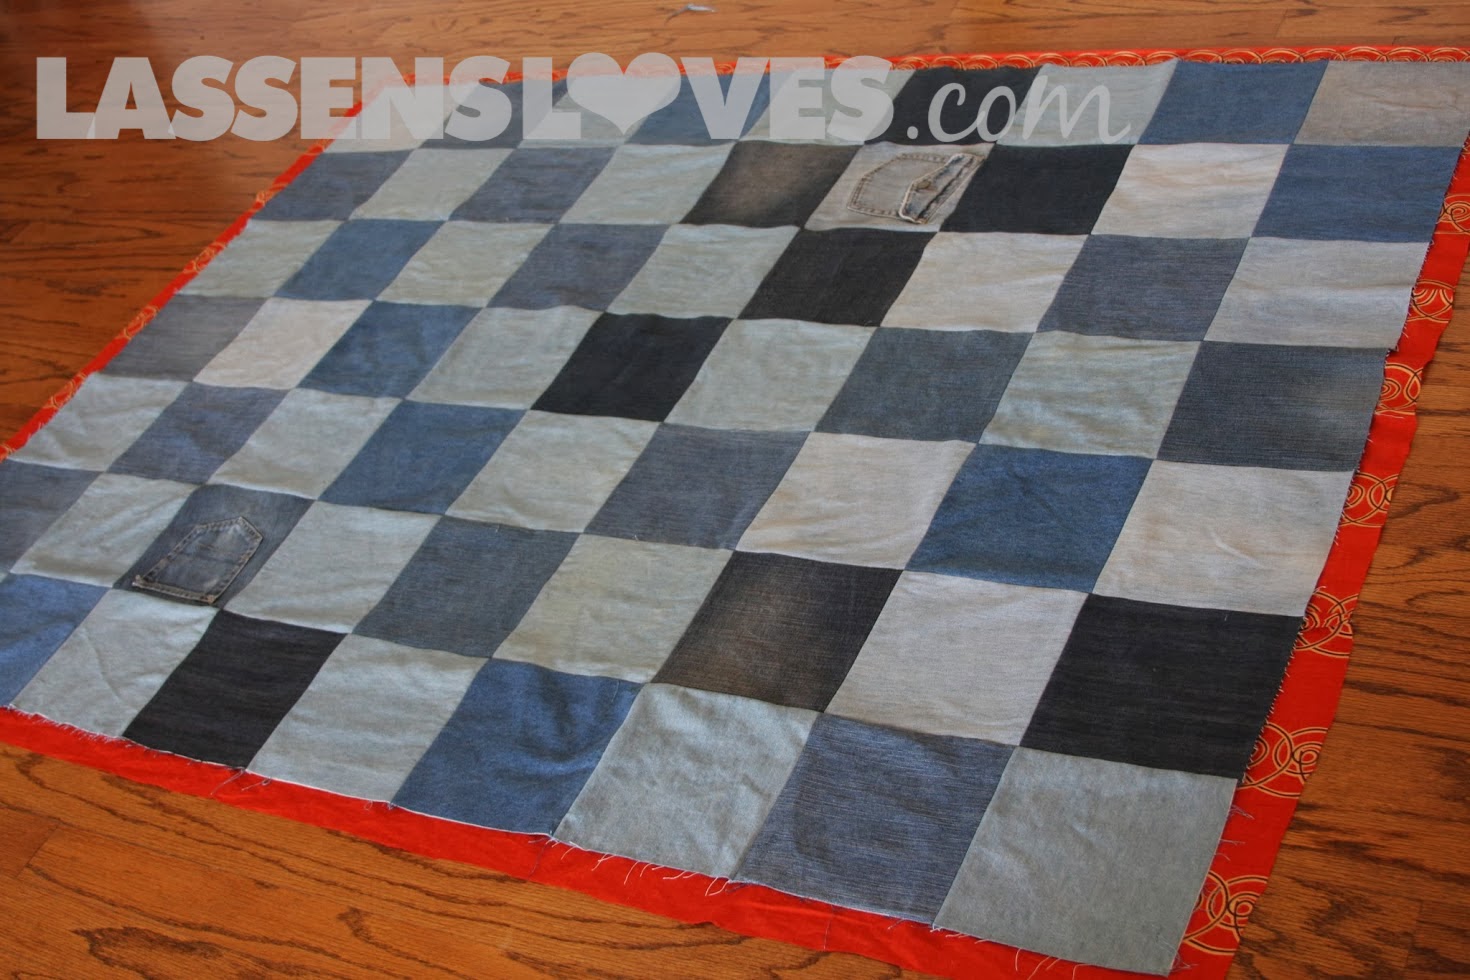
I had lots of squares of a fairly lightweight denim, so I decided to make a larger blanket this time–seven squares by nine squares. I usually do six by eight. I like to alternate dark and light, and throw a few pockets in the mix, too.
Start Patching the Squares Together
I like to leave the squares on the floor and just pick them one at a time to pin them together. Pin and then sew. Sew a whole row together in either direction.
This first row is pinned together. Then sew all of the seams.
I sew all of the rows together first.
The seams in all of these rows have also been ironed open.
Time to Sew the Rows!
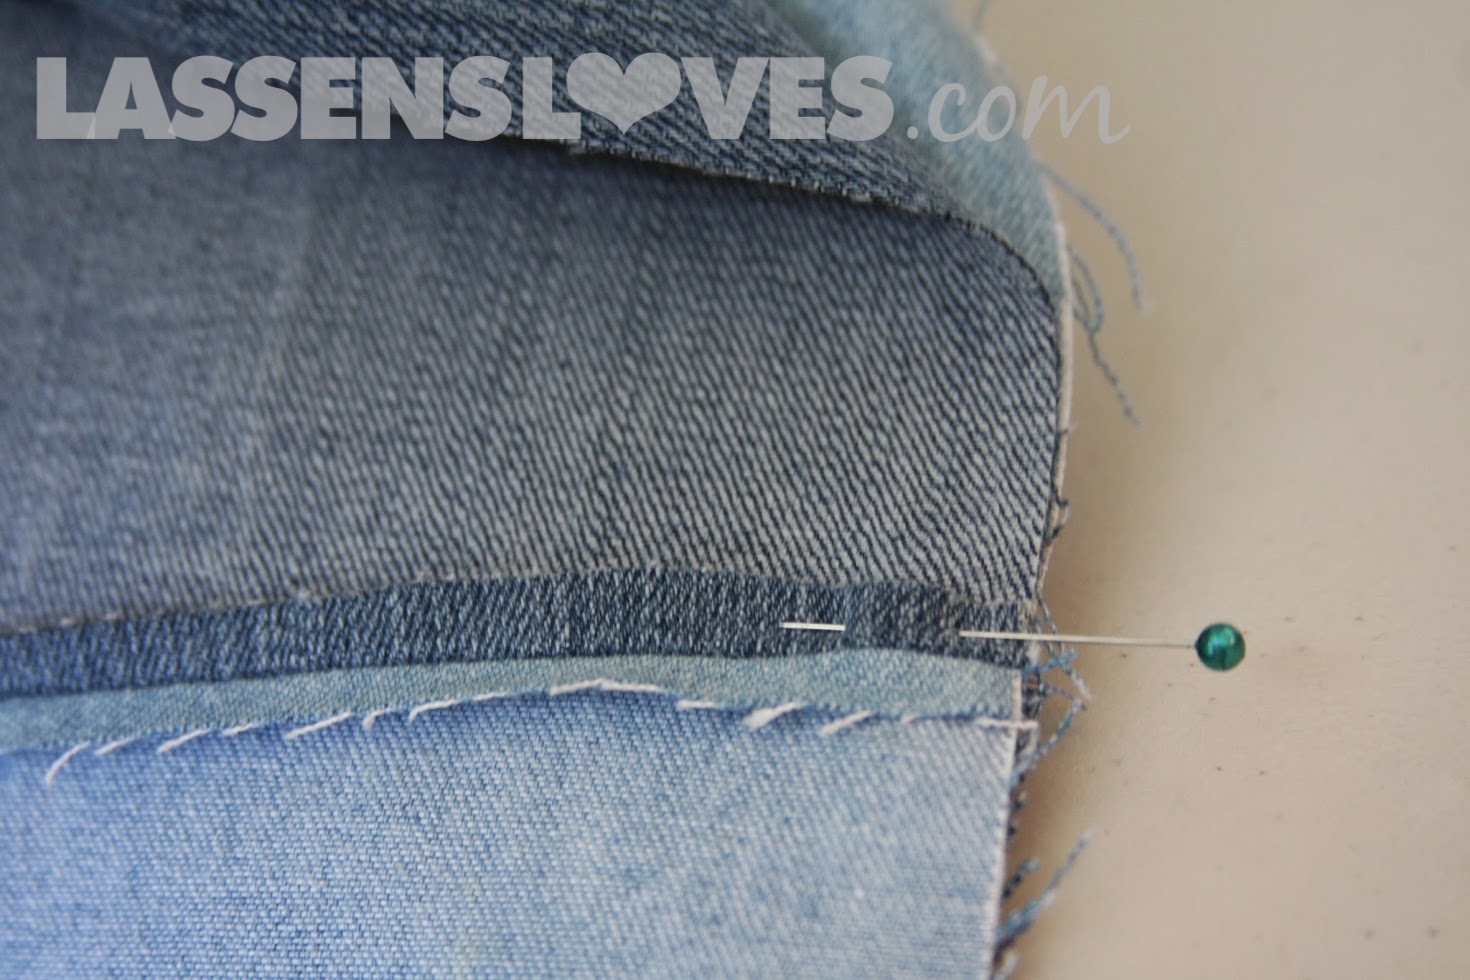
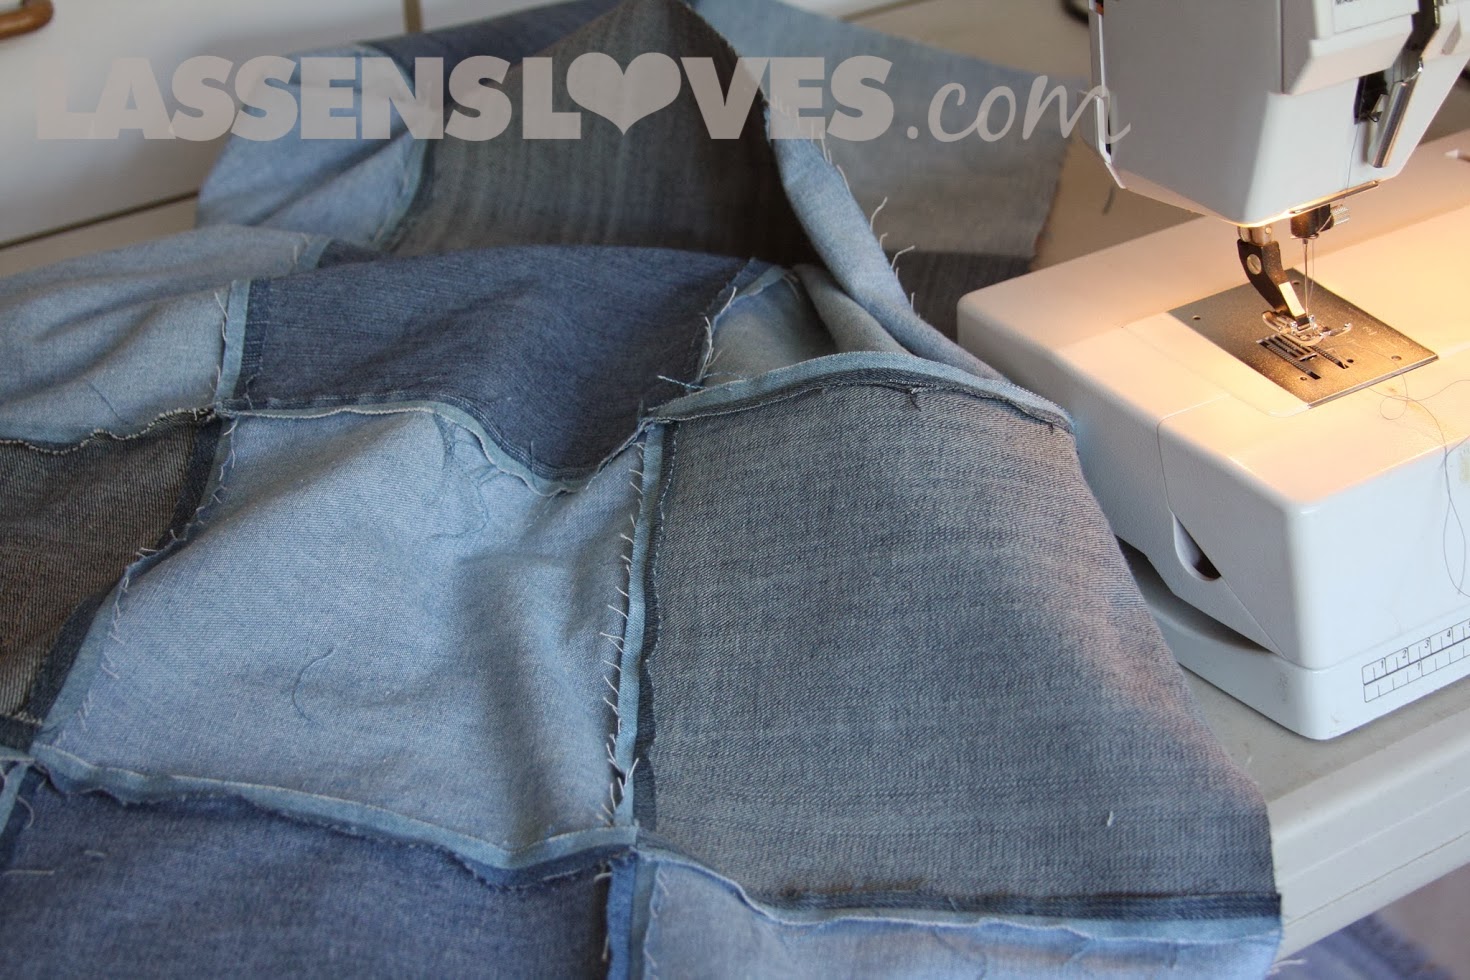
Pin two rows together, with the seams matching. Keep the seams open, as ironed, as you sew the rows together.
It should look like this.
Iron the seams open after each seam sewed.
This is the back after all of the rows are sewn together and ironed.
Now the Tricky Part.
For the back of my blanket I used a piece of fabric that I had lying around in my fabric stash. Because my blanket is a little larger, I had to piece two widths of fabric together, but when I do a smaller blanket I can just use a single width of 44-45″ fabric for the back.
Lay your backing fabric, right side down, on the floor. Smooth it out, and then lay the denim patchwork piece on top of it, right side up. If you have someone to help you hold everything smooth and straight, that will help. But just make sure there are no wrinkles on either the top or the bottom. Make sure the backing fabric is about about 1&1/2 to 2 inches wider than the denim patchwork piece on all sides.
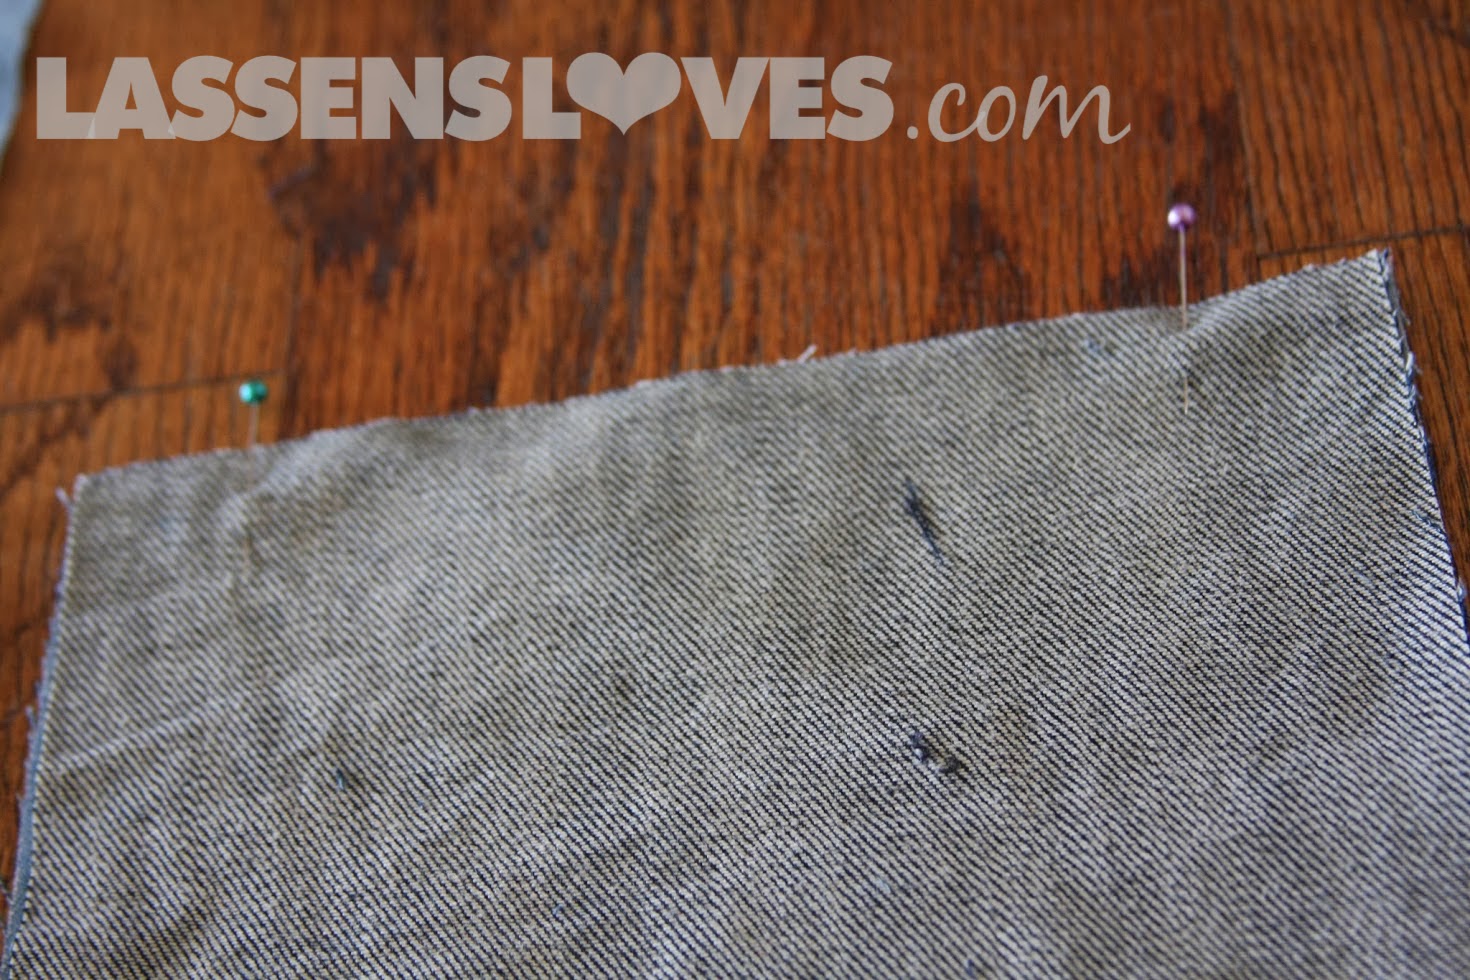
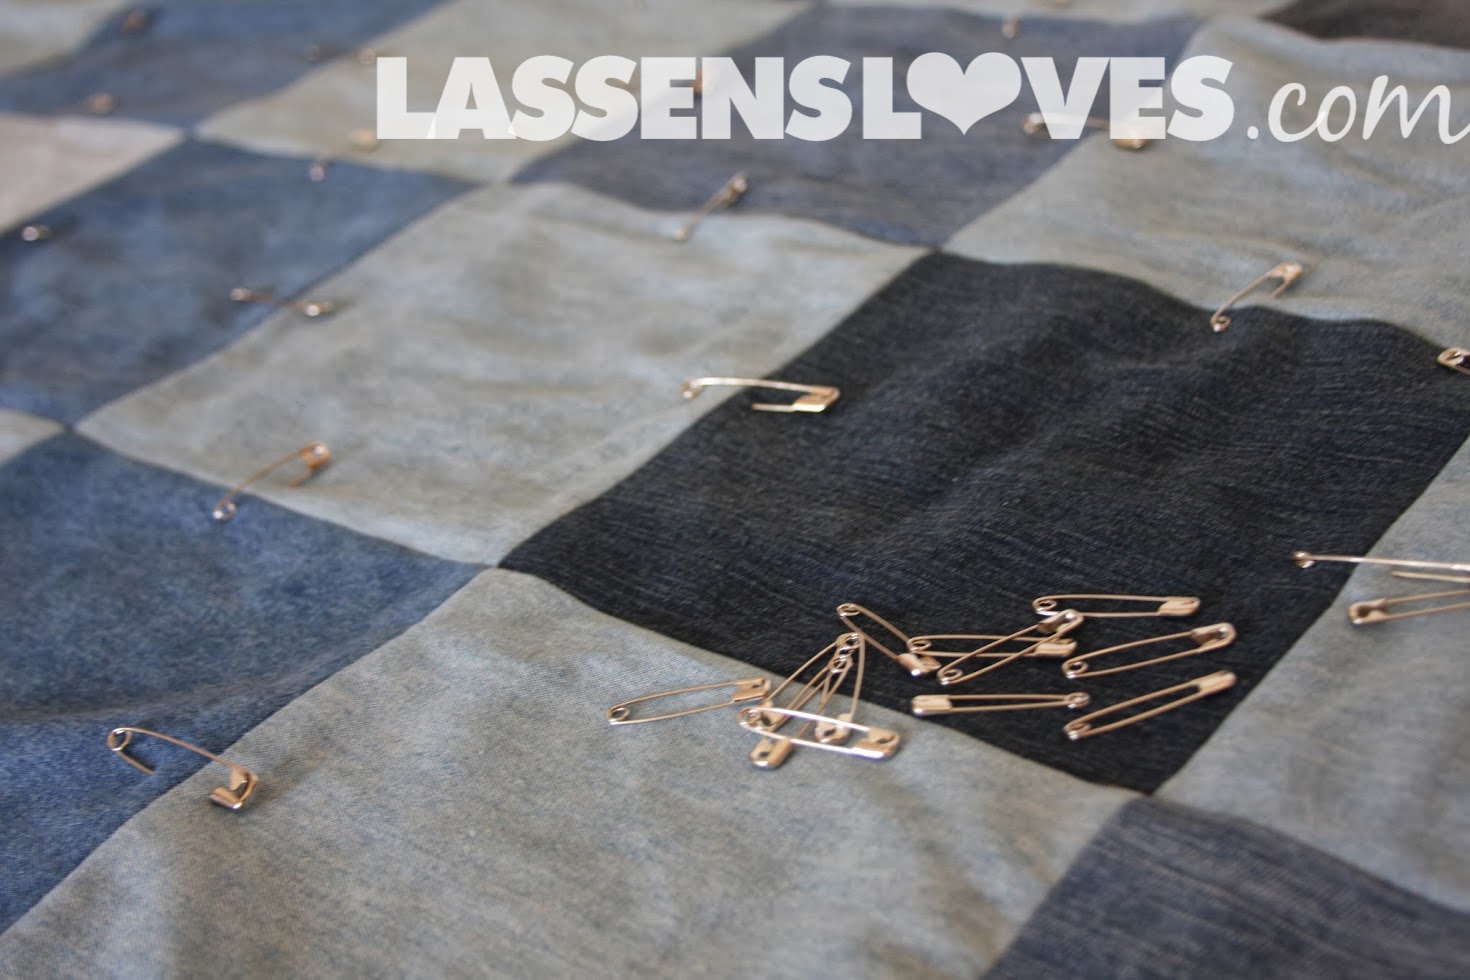
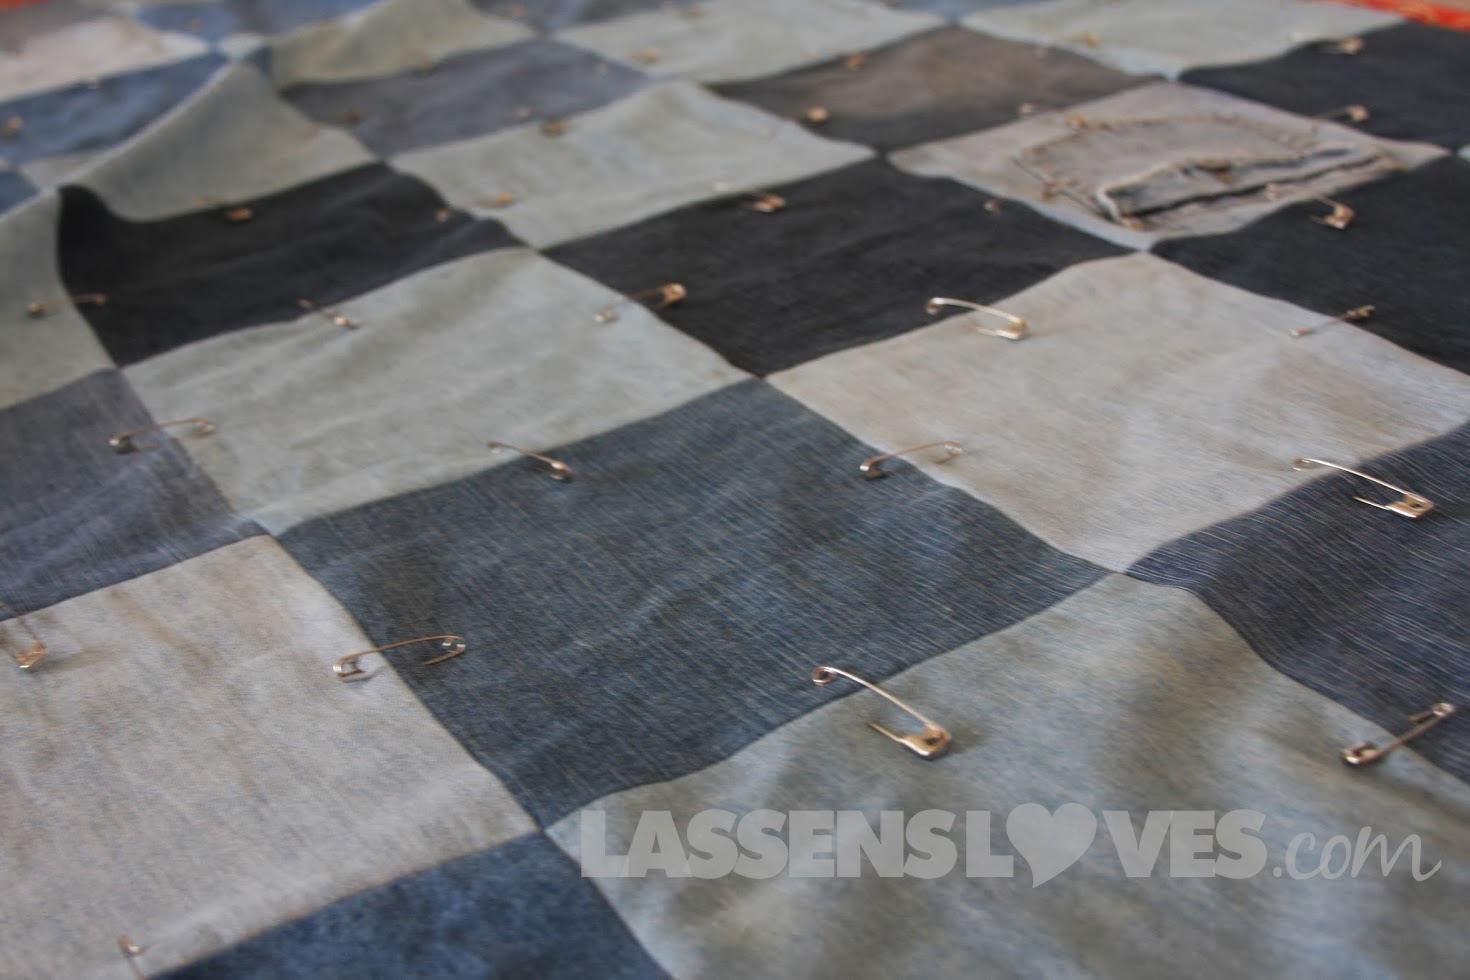
Then start pinning with large safety pins (you can find these in fabric stores in the quilting department.) I pin in the middle of the squares, not at the junctions, since that is where I sew the back and the front together.
It takes a lot of pins!
Pin all the way to the edge, too.
Now You Can Do Some Machine Quilting!
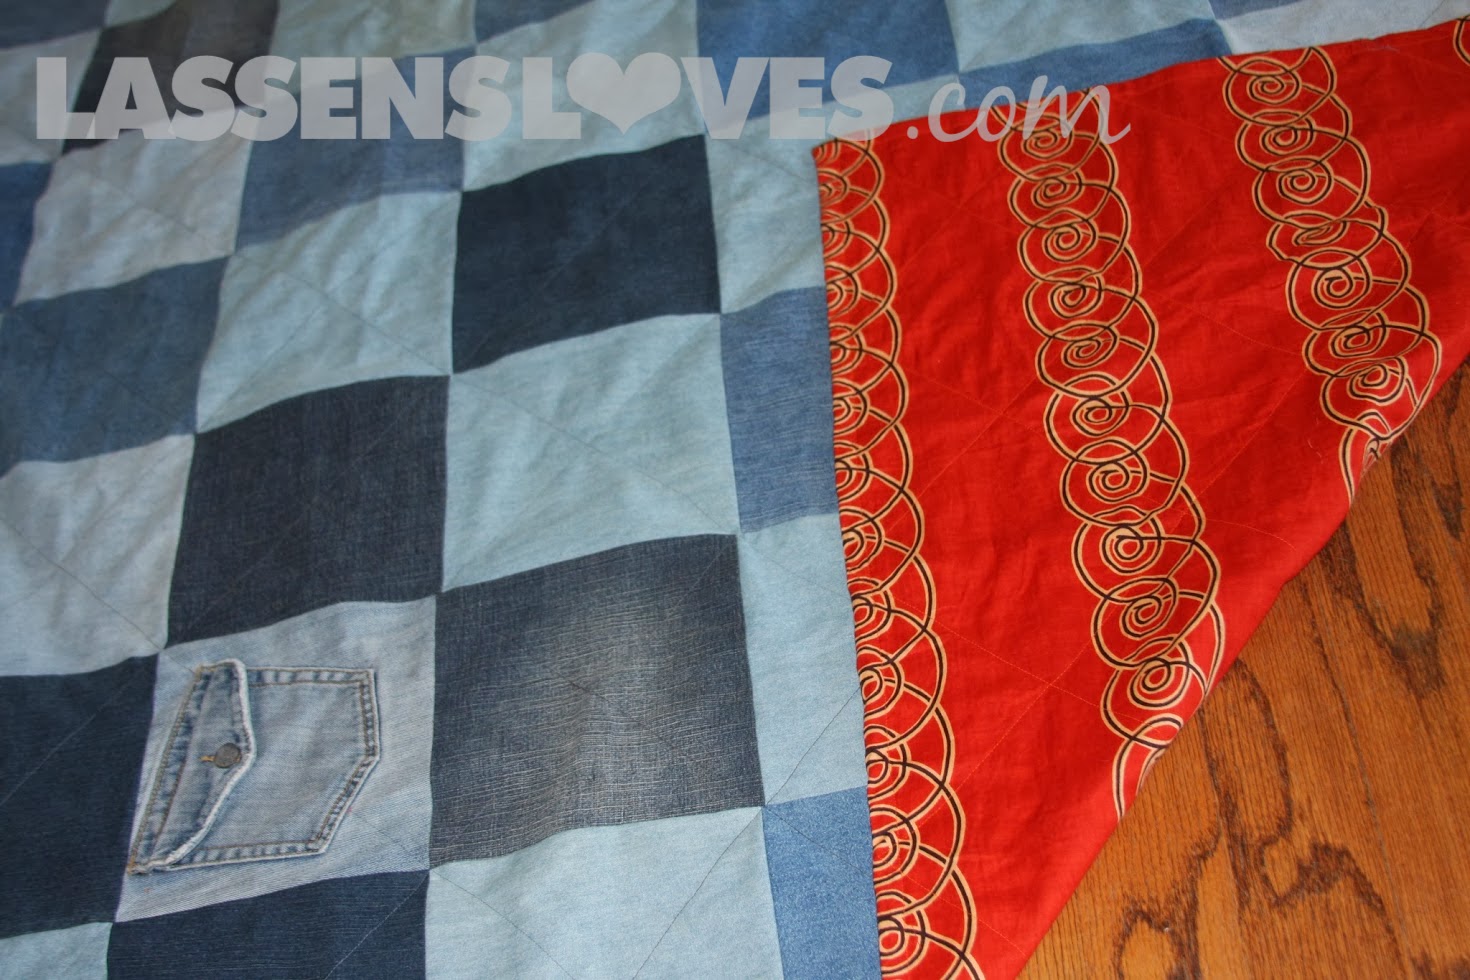
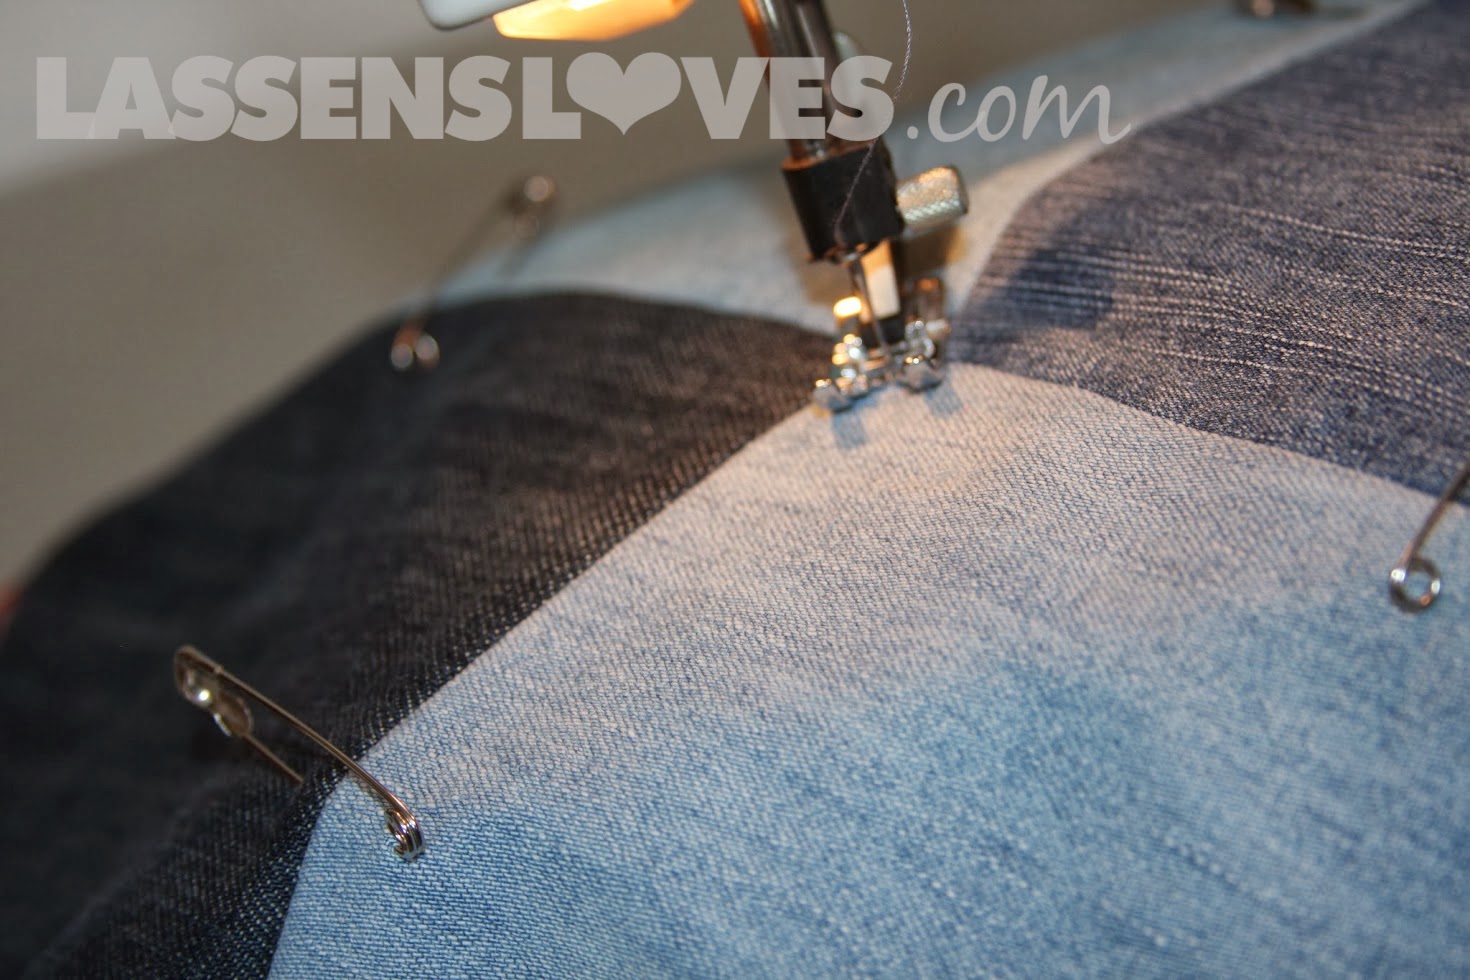
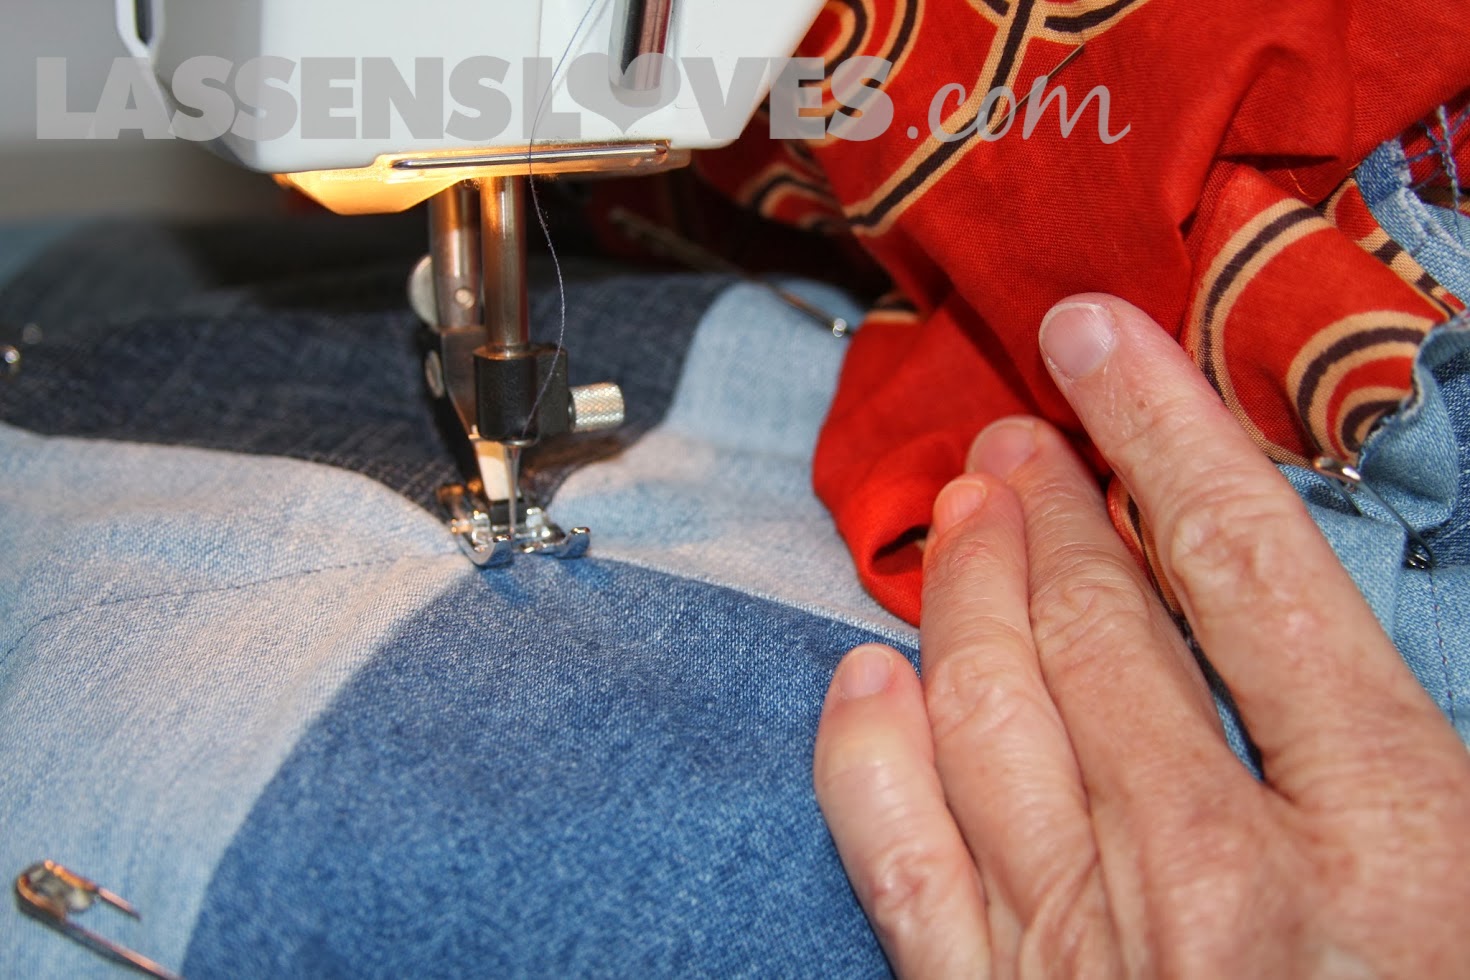
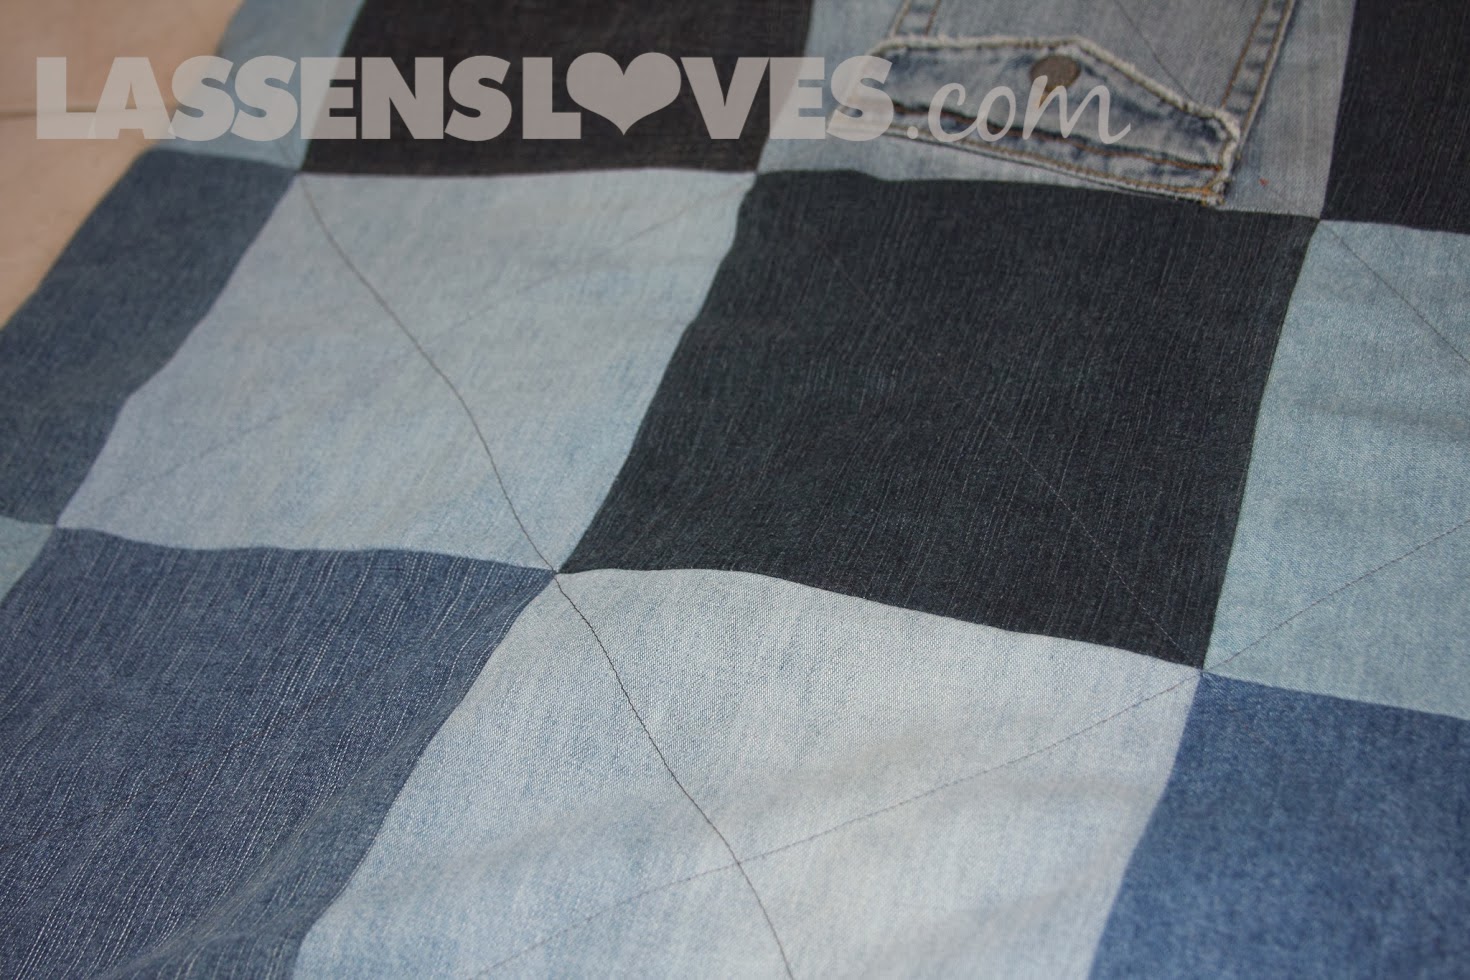
This is the easiest machine quilting in the world. Straight stitches–making an “X” over each square. Start in a corner and just sew straight across all of the squares. One exception: the squares with pockets. I always sew around the pockets so that I can stash my lip balm or a granola bar in them, if I wish!
Keep the pins on until you are completely finished doing the machine quilting.
I do not have a long-arm sewing machine, so I just roll up the excess blanket on the right side to fit the through the machine as I sew the lines. Make sure you hold the fabric firmly so that you don’t get any puckers in the seams.
When you get to the end of the line, just make a right turn and start another diagonal line.
And if your lines aren’t straight, who cares? The straight-line police won’t confiscate your blanket, I promise! (And the lines will look a lot better after the quilting fairies come at night and straighten everything out.) When every square has an “X” sewn on it, remove all of the pins.
Now for the Edge…
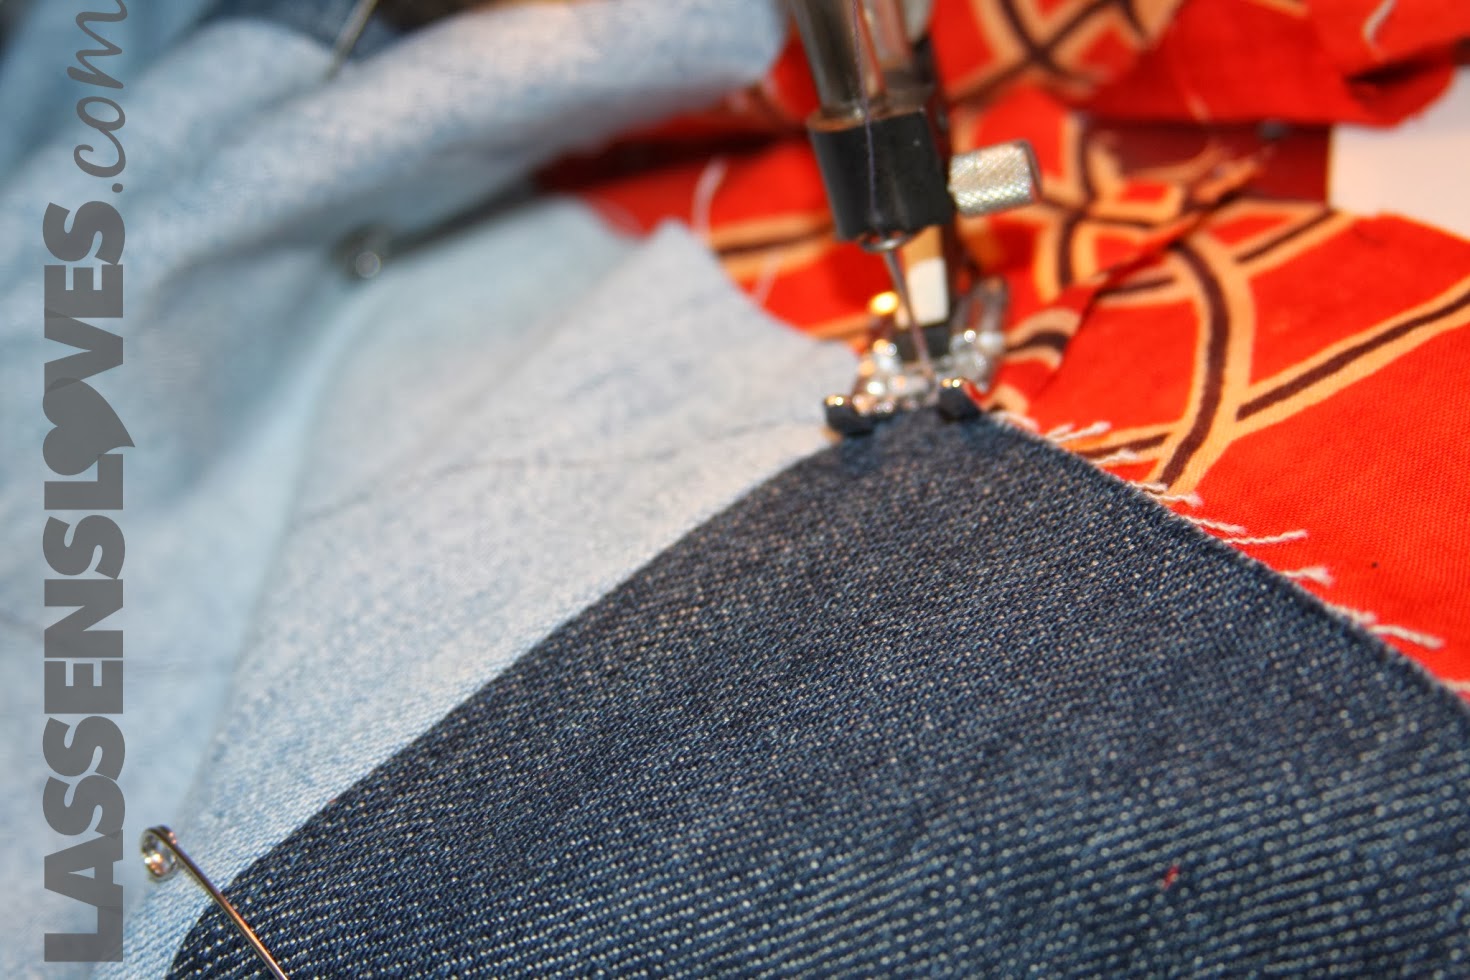
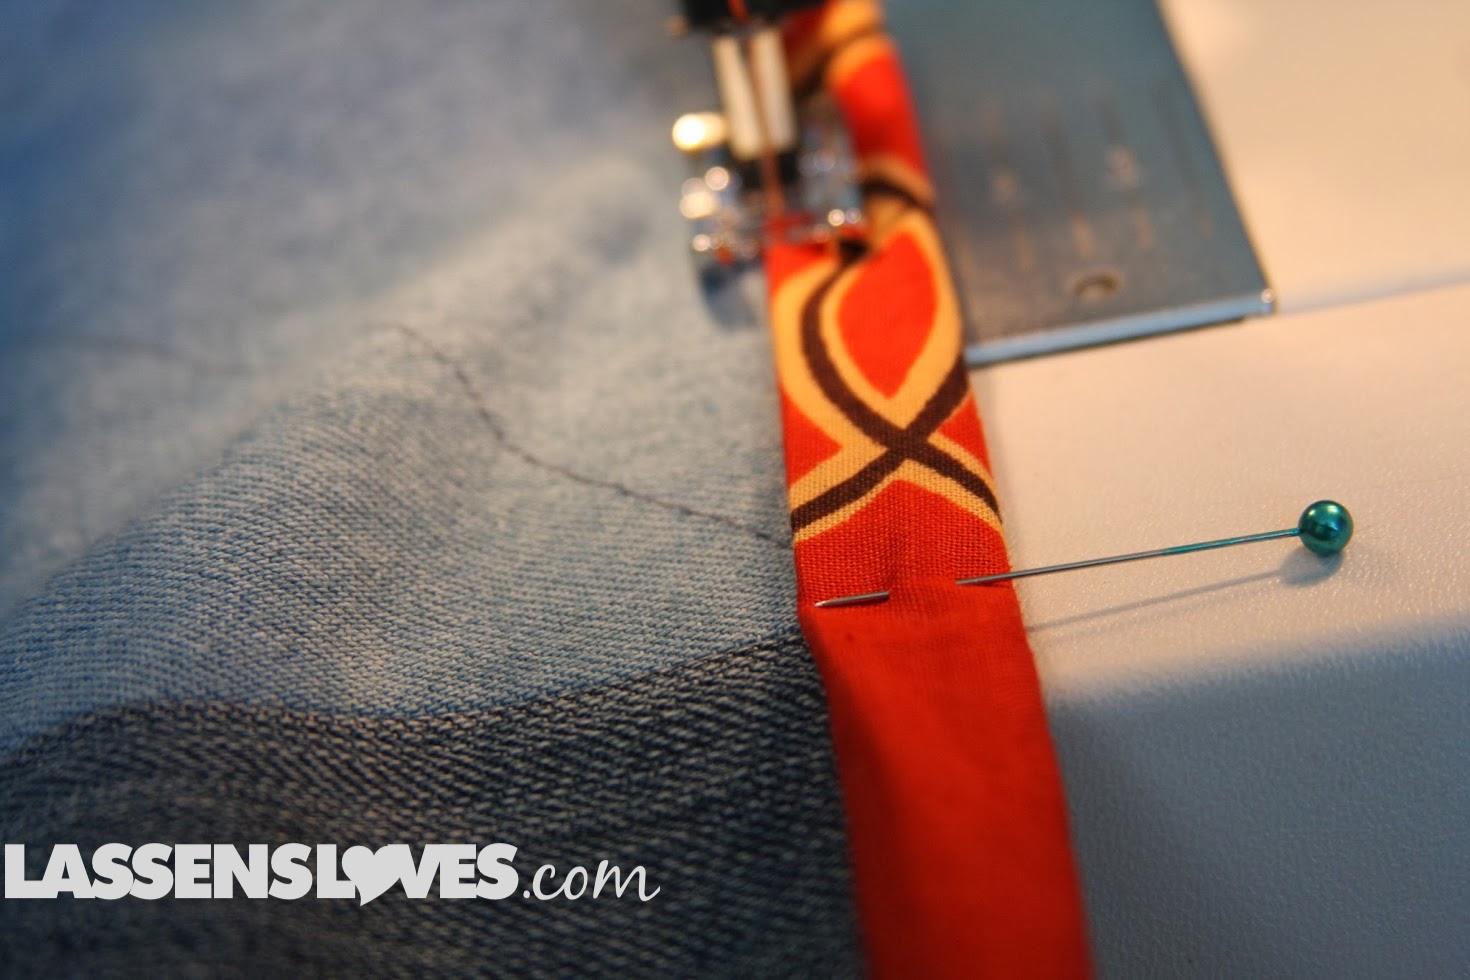
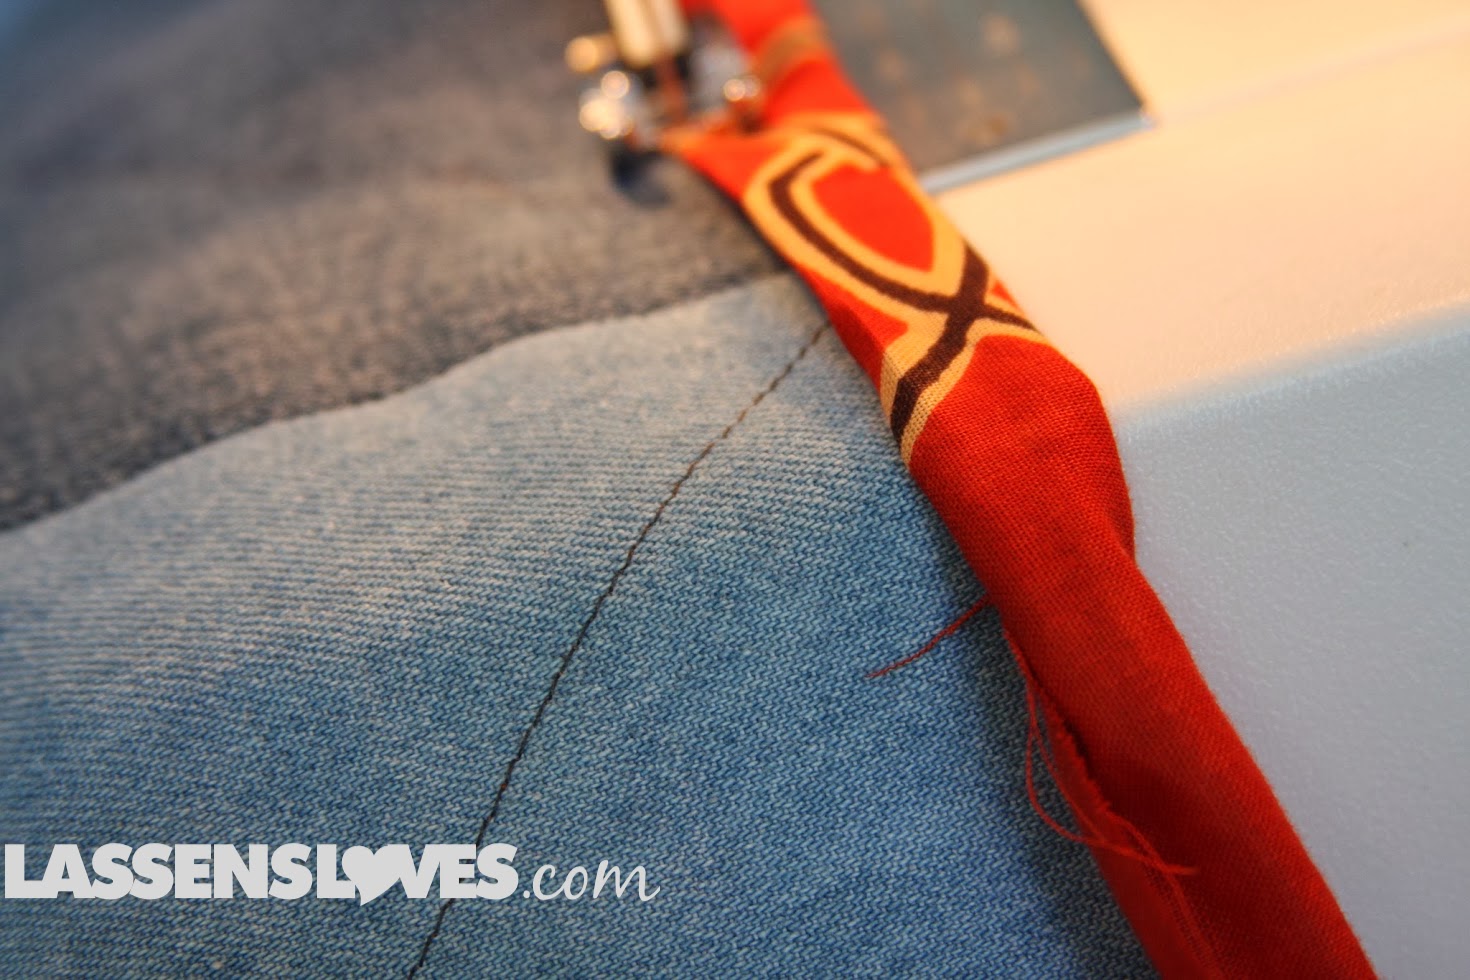
Fold the edge of your backing fabric around the edge of the denim evenly and pin. Start sewing right next to the left edge of the turned piece.
OK, Now the Corners.
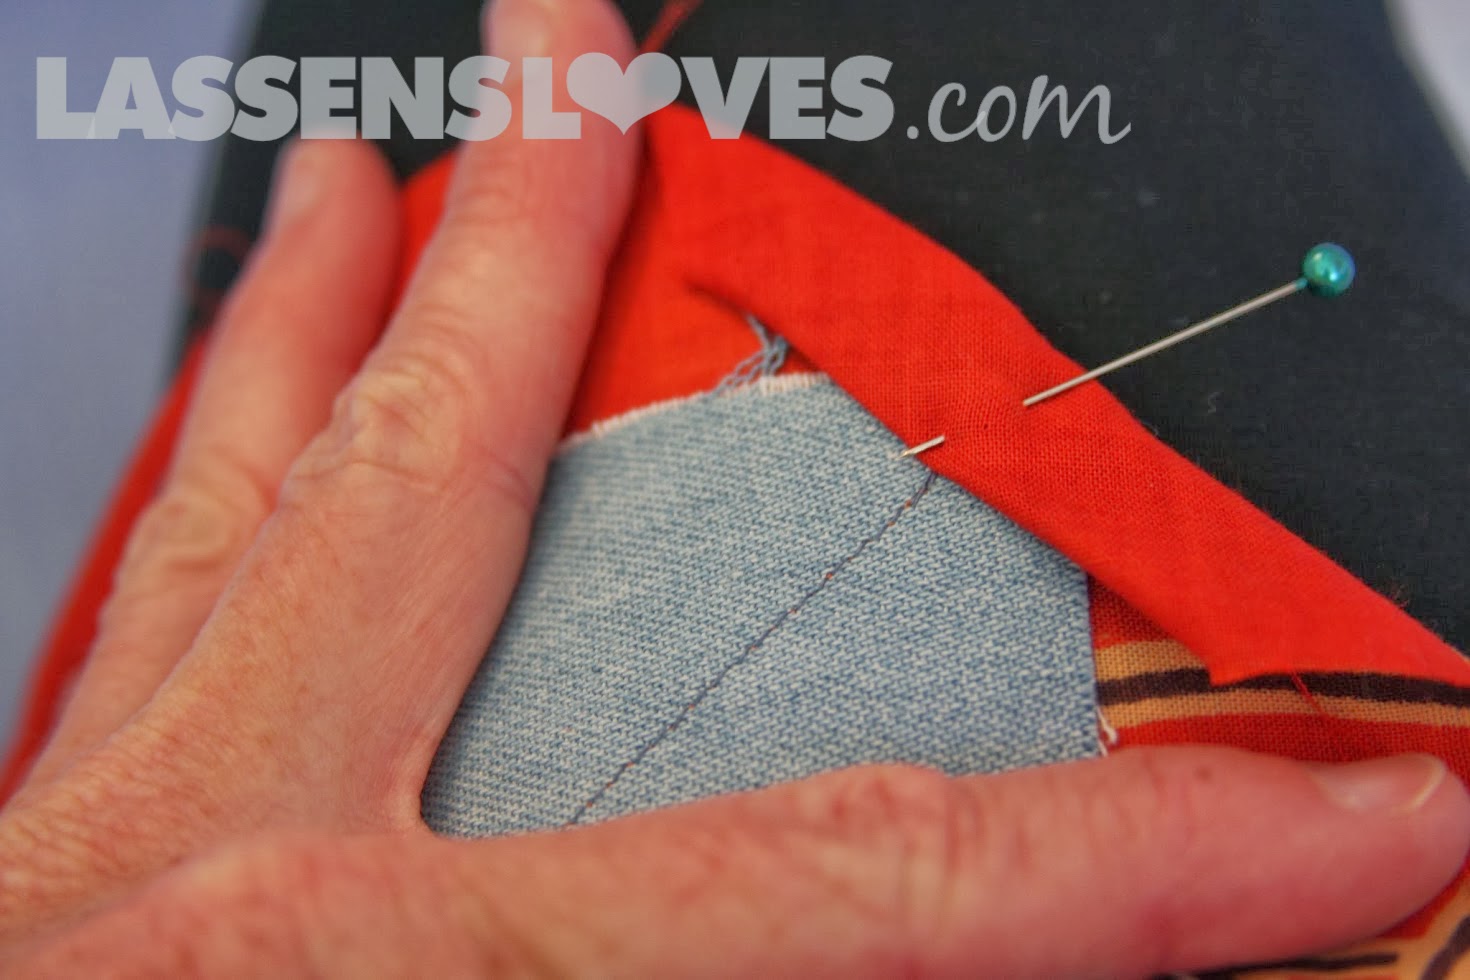
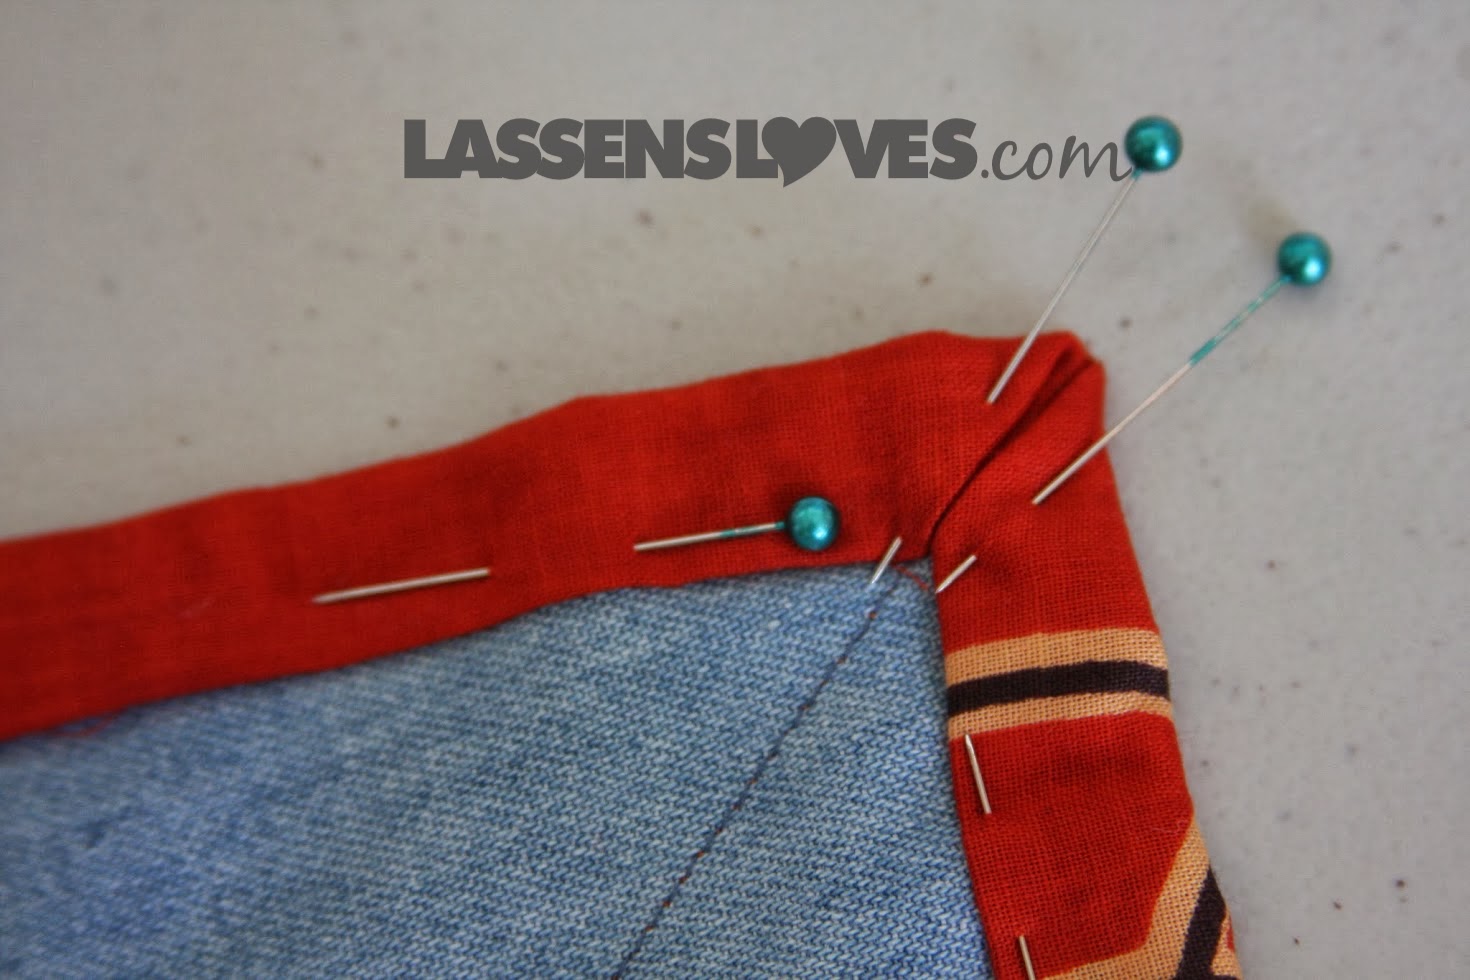
Again, not as hard as they seem. First, fold and then pin the backing fabric like this.
You can see that the denim is not folded at all, but the backing fabric is folded right at that corner.
Then fold the two edges right up into that corner. You may have to play with it a little to get it right, but if you keep the first folds (to the corner) flat and straight, this will be easier.
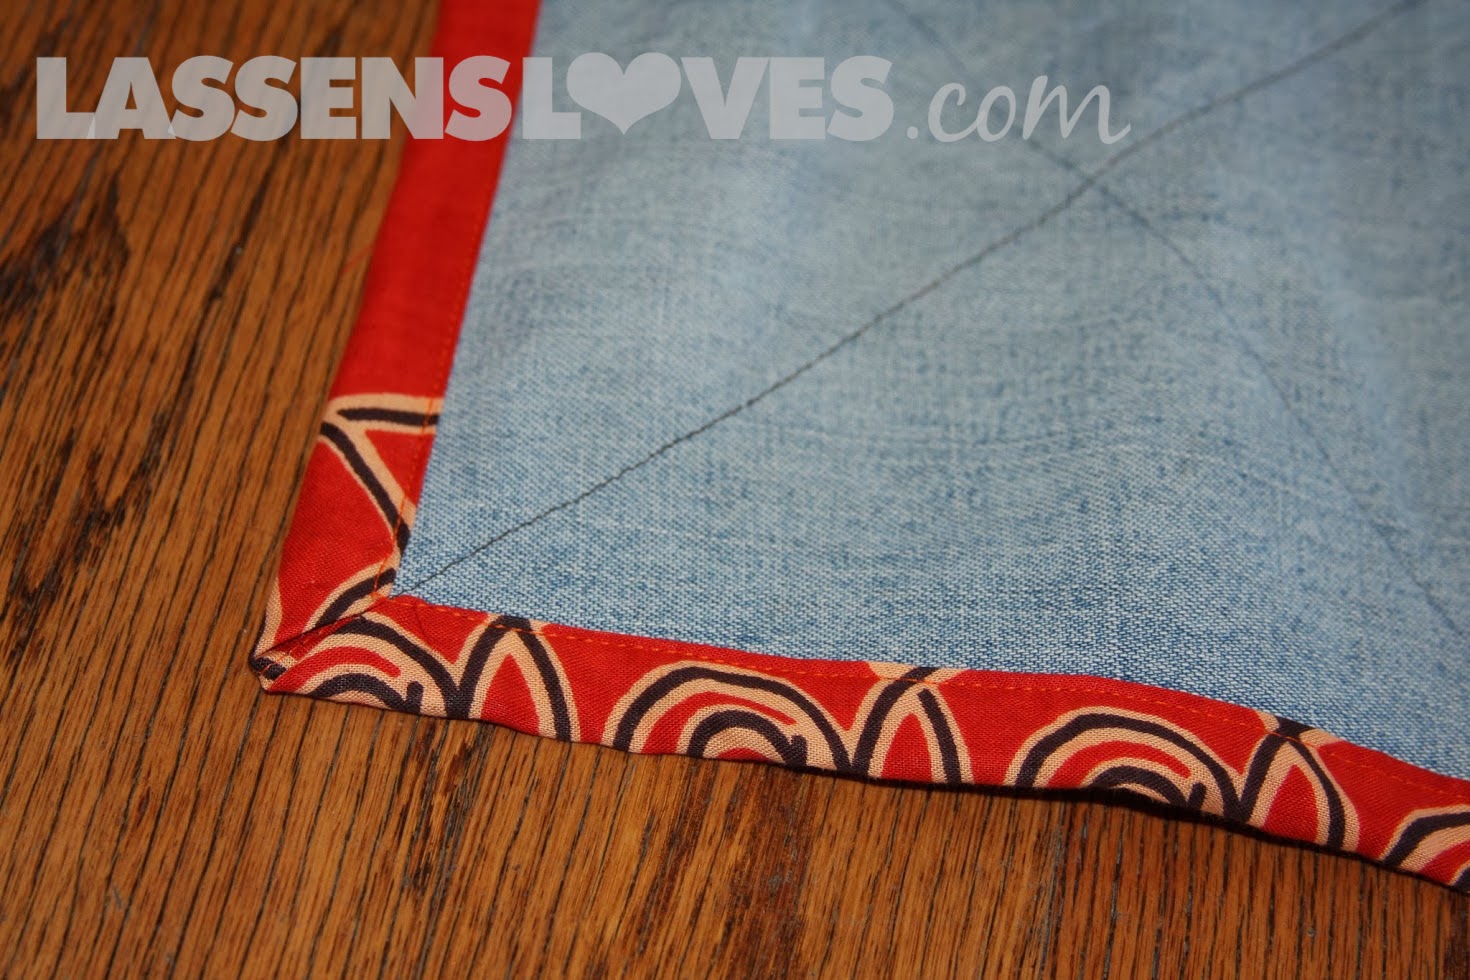
Again, if it’s not quite perfect, so what?
Success!
Here is the completed blanket–ready for the beach or the park, or anyplace you want a sturdy, easy to clean blanket. You know it will wash well, too! These make great gifts, so stop throwing those old holey jeans in the trash, and start cutting denim squares! No more old jeans in the landfill!
Have a great summer!
love,
Lassen’s










Oh, my gosh…. does that ever bring back memories of picnics on the jeans blanked Mom made!
Dale (Gayle's brother) Sargent
I plan on making one and love your method…will probable make mine a little larger…so glad I found this ….Marg
Thanks for your comment! I hope you have a great time making and using your blanket!
Exactly what I need! I’ve been looking for a simple project with good directions. Thanks!
I’m glad you found this project! It’s a lot of fun, and I am sure you’ll love the finished product!