Fermented and Raw!
Written by Gayle
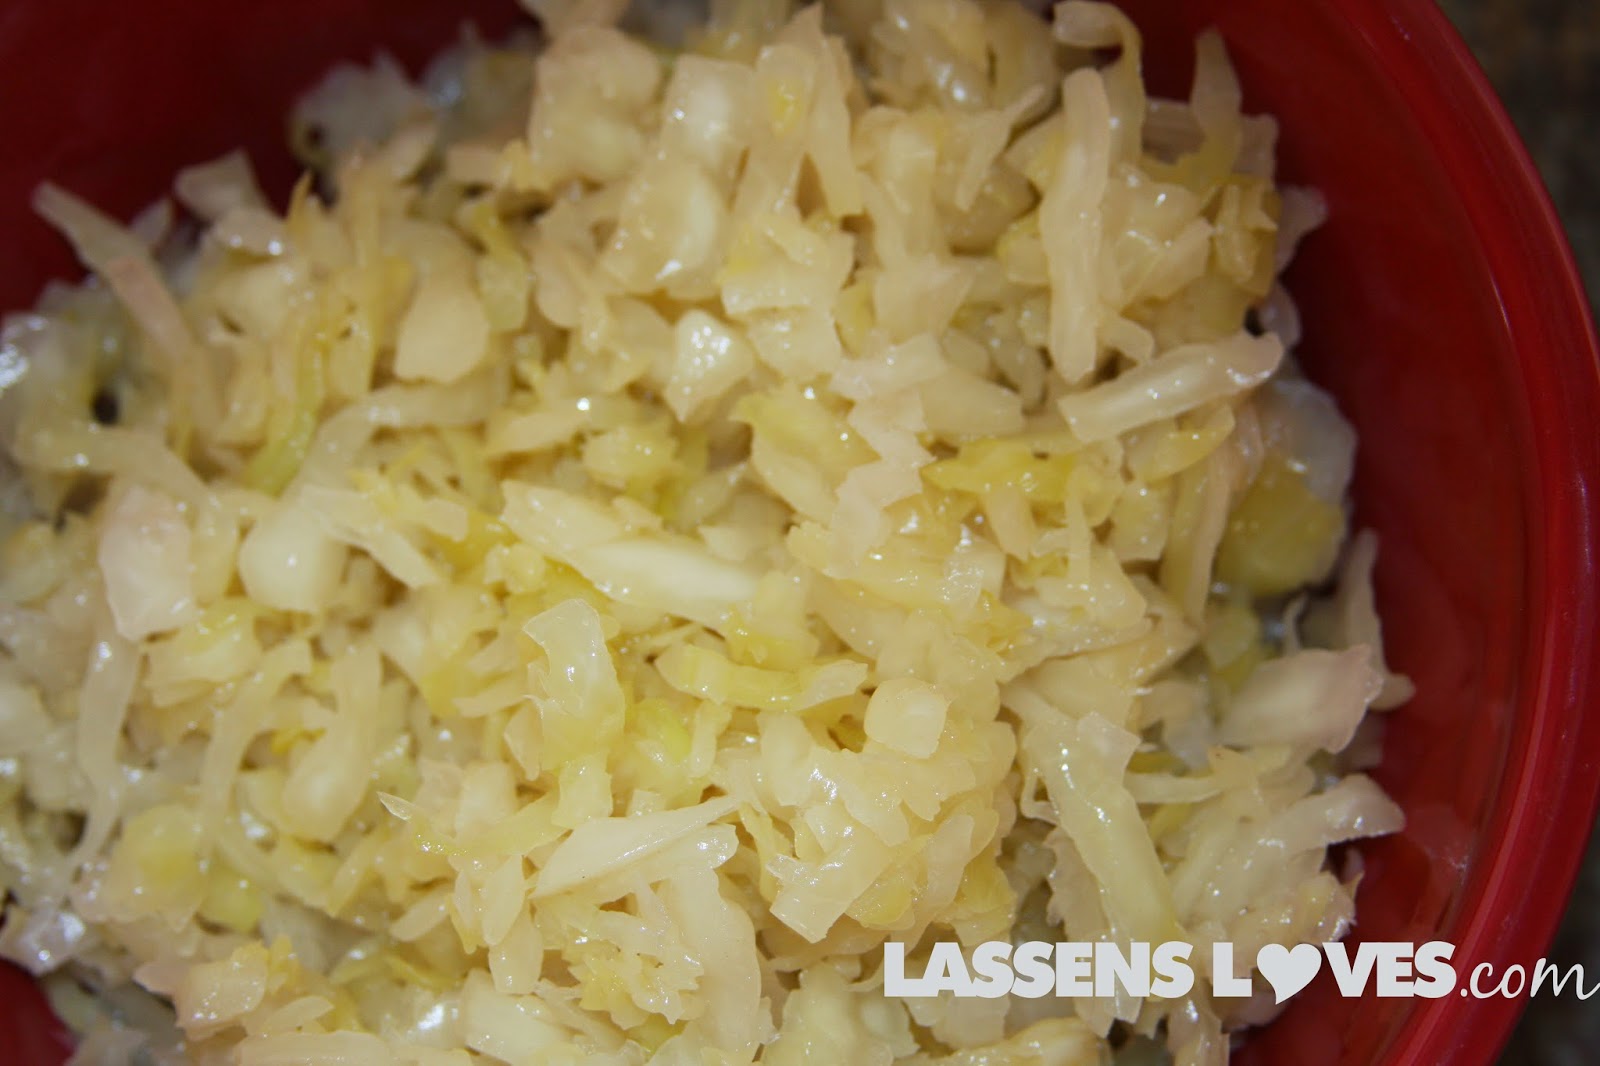
Most commercial pickles and sauerkraut are cooked and pasteurized to assure a long shelf life, but when you buy or make raw sauerkraut, you get to reap the probiotic benefits of fermented foods. (Click here to read about some of the benefits of eating fermented foods.) The sour taste is produced as the vegetables are allowed to ferment over several days or weeks. I’ve had a little fun experimenting with fermented foods lately, since I’ve been learning how digestive health is so crucial to overall health.
Last week I made my own sauerkraut. It was incredibly simple, and after waiting nearly a week, I enjoyed a crunchy and zesty addition to my lunch. I feel healthier already!
Homemade Sauerkraut
Makes 1 qt
You’ll Need:
- 1 small head organic yellow cabbage (about 1 1/2 lbs)
- 2 tsp kosher salt. I used my fav–Himalayan red salt
- 1 tsp caraway seeds, if desired
- Tools:
- Chef’s knife
- Cutting board
- Large mixing bowl
- Quart wide-mouth canning jar
- Smaller jar (that fits inside the quart jar) filled with marbles or clean pebbles (this will help keep the cabbage submerged in the juice.)
- Cloth to cover the top of the jar, and rubber band to fasten
Instructions:
- Make sure all of your tools are very clean. You want the good bacteria to grow, not the bad. I like to run the dishwasher with the bowl, knife, cutting board, and canning jars to be sure they are sterile, but hot soapy water does the trick, too. Rinse well and air dry.
- Remove the wilted outer leaves, setting one aside to use later.
- Chop the cabbage. Cut it in quarters, then remove the core. Cut the quarters in half again, and then cut very thin crossways strips. Place in a large bowl.
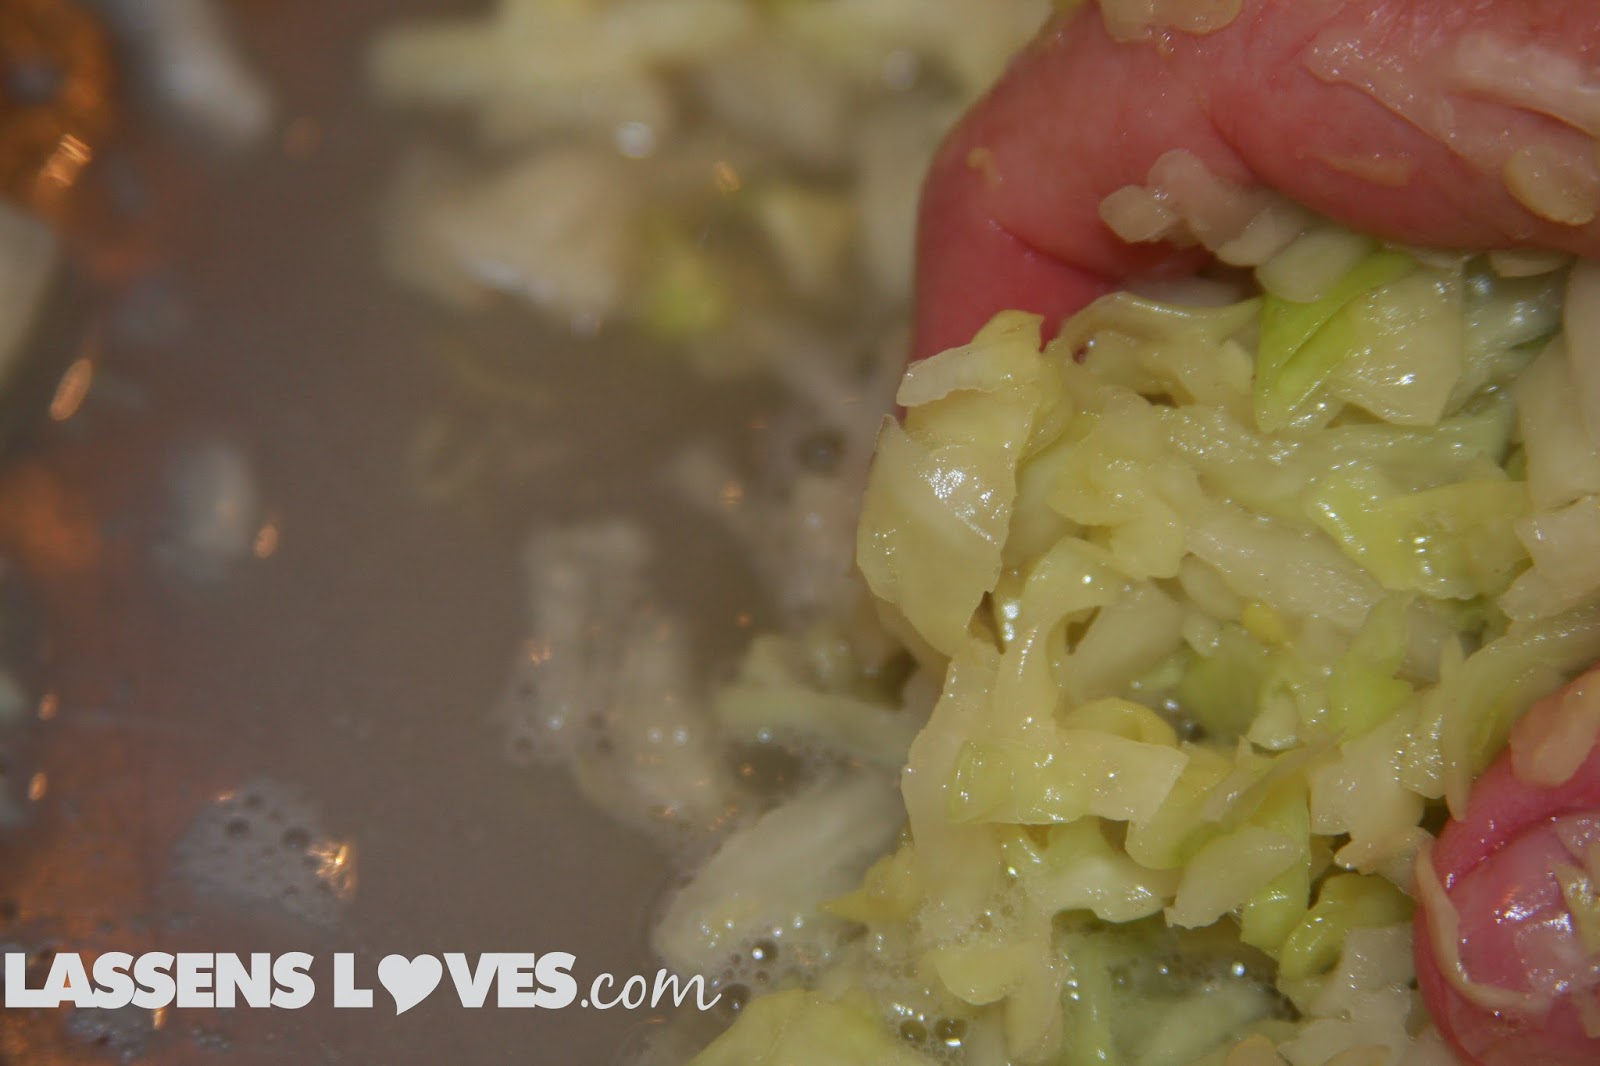
- Sprinkle the salt on the cabbage, and then using your clean hands squeeze and crush the cabbage until it is limp and juicy. This takes about 8-10 minutes. You want to break down the stiff fibers in the cabbage. You’ll want quite a bit of the juice to be released.
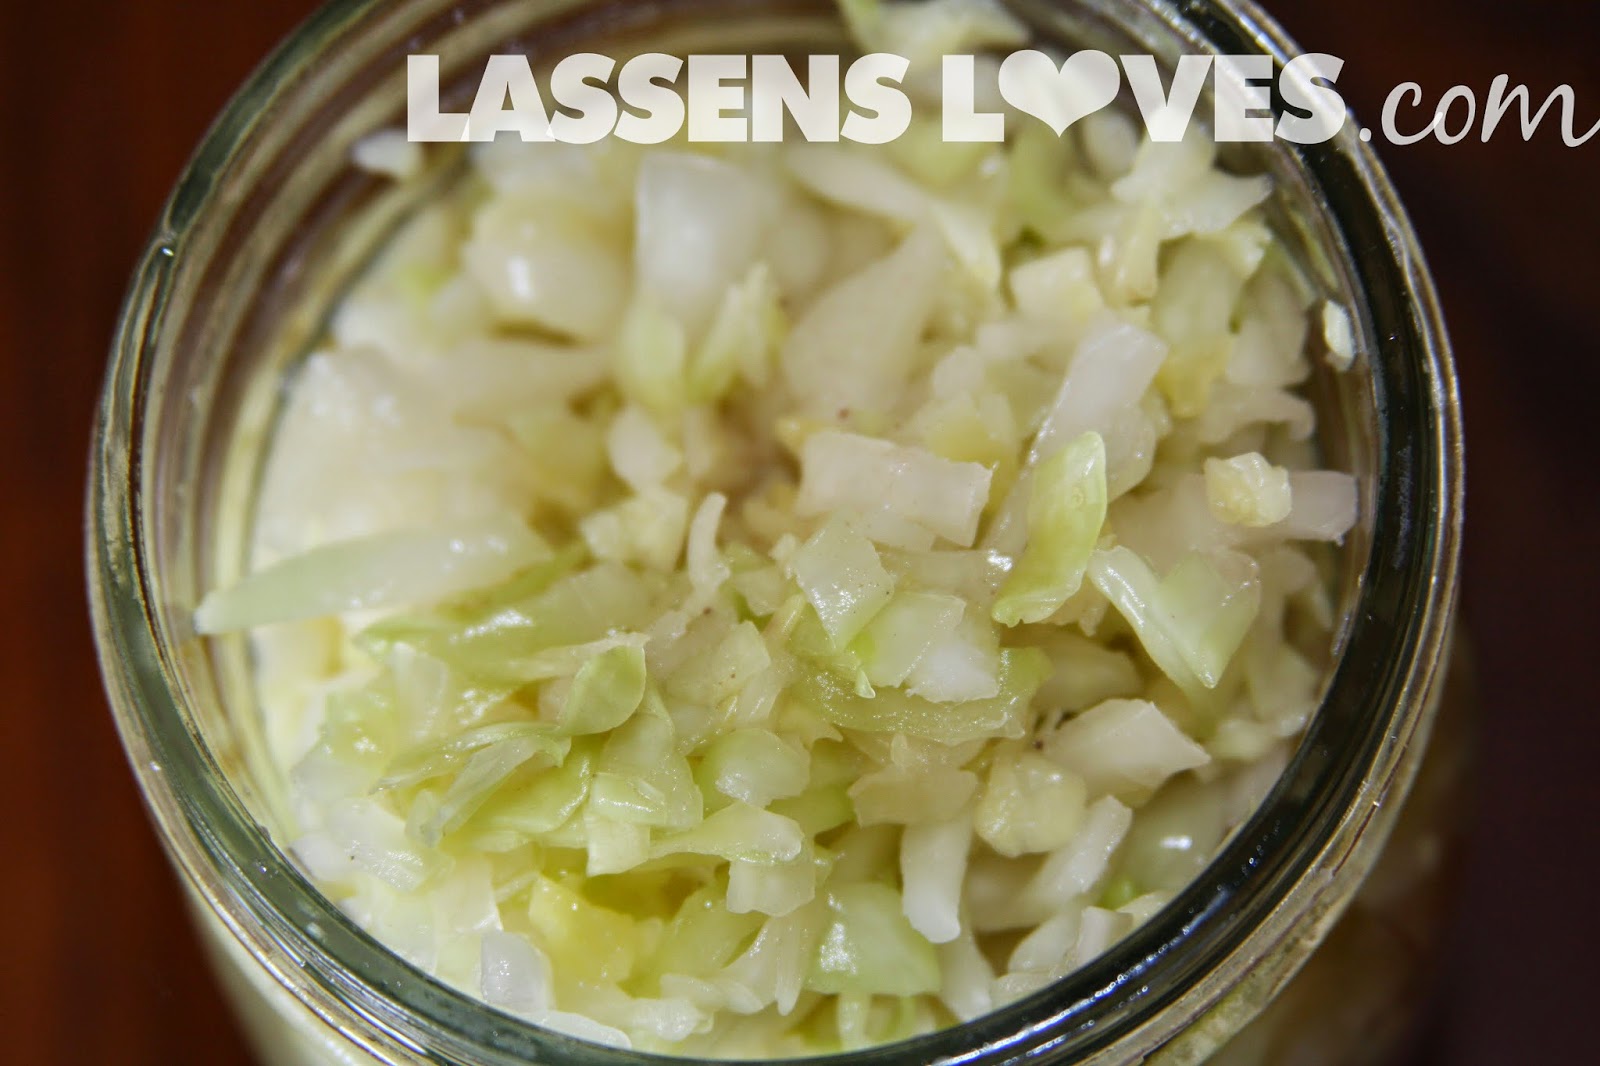
- Add the caraway seeds, if desired, at this time. Pack the cabbage into the quart jar. Press it down with your fist (this is why you need a wide-mouthed jar). When it’s all in the jar, pour in the cabbage juice and then put one of the outer leaves on the top and press down again to submerge all of the chopped cabbage into the liquid. This outer leaf will keep the cabbage from rising above the liquid level.
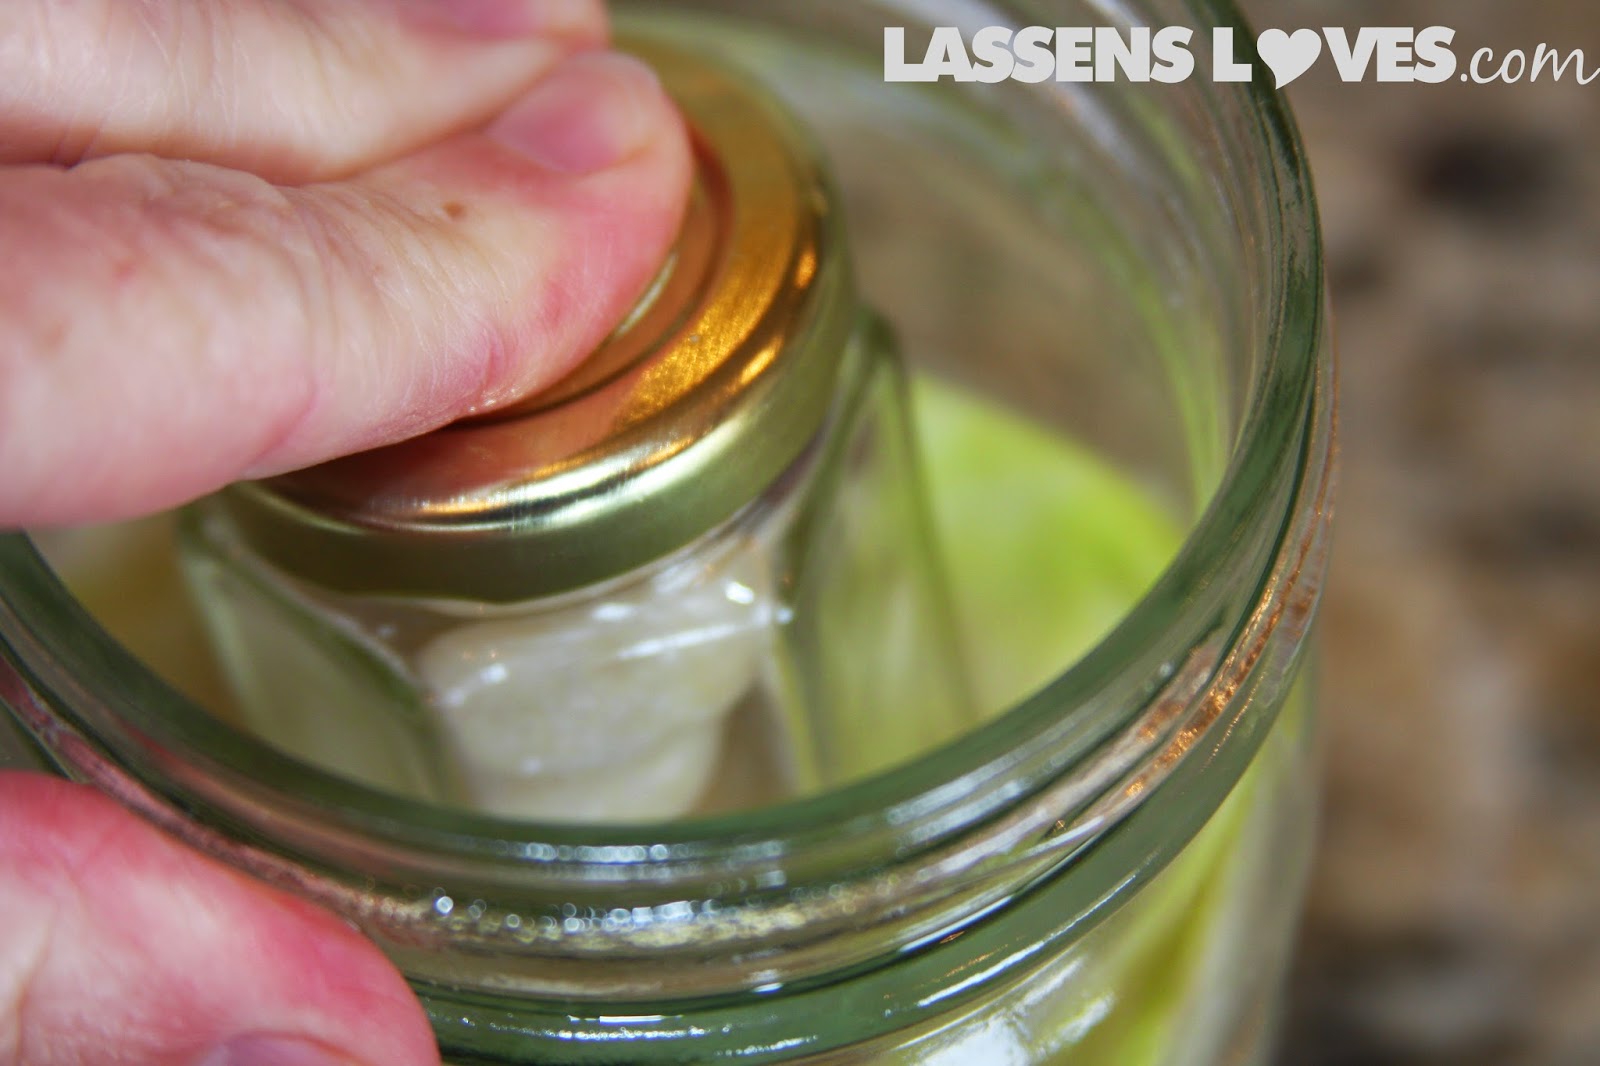
- Place the smaller, weighted jar on top of the cabbage and press it down again. Check on it and press down again every couple of hours during the first 24 hours.
- Leave the jar in a room temperature place (65 to 75 degrees) and away from direct sunlight. Check every day to make sure the cabbage is still immersed. If the cabbage doesn’t stay under the liquid, you may need to add a little bit of salt water. (Dissolve 1/2 tsp salt in 1/2 cup water and add enough to submerge the cabbage.)
- After about 3 days, taste to see if the cabbage is fermented to your liking. You can continue the fermentation process for up to about 10 days. Check it every day. Bubbles and foam are natural parts of the fermentation process.
- When the taste is to your liking, remove the smaller jar, put a lid on the quart jar, and refrigerate.
Adding some fermented foods is a great way to increase the healthy quotient in your diet!
Love,
Lassen’s





I have 3 questions.
1. Can I use a potato masher to squash the cabbage?
2. Can I use a lid with holes in it. I have jar with that.. This will help do what I mention in the 3rd question
3. Can I use a the same potato masher to hole the cabbage down in the jar instead of another jar.?
The potato masher has holes in it. It allows the water to seep the through while keeping the cabbage down. The potato masher fits the jar perfectly and the short handle will fit inside the jar keeping it down when I put the lid(with holes) on it.
I think your options would work just fine. The lid is to keep out bugs and dust, so if your lid does that, I don't see why it wouldn't work. The potato masher sounds like a great idea!
A metal potato masher is not a good idea because it will rust if left in the salty – acidic ferment. When doing fermentation, you generally want to use non-reactive items, like class and ceramic. That’s why the old-time giant ceramic crocks were so popular – they had straight walls all the way to the top, so you could weight your cabbage with a smaller ceramic dish.
Yes, you are right — keeping metal in the acidic environment is not a good idea. Thanks for the clarification!